


Well I have a problem and it's quite serious. I have a craving, and I really need to find a solution to satisfy my cravings. I'm addicted to scones!....*blush* I have been making scones after scones, and searched up and down for the best scone recipe because I love those scones at my workplace so much ( I believe I mentioned this many times before in my previous posts....). Since I'm going back to Melbourne next week, probably won't be coming back to Ballarat anytime soon, I need to find a recipe I can replicate at home and make scones whenever I want to.
I think I've found "The One". The scone recipe that I shared last week was great. But date and walnut? The best so far...Well I might change my mind when I come up with a new combination, but so far this one is the best for me and my hubby. Well I found out that hubby doesn't like savoury scones. But he loved these date and walnut scones. He thinks they are better that bakers delight's. I'm not sure if they are better than bakers delight's but they sure were yummy. I used the same basic recipe that I used for my savoury scones, except that I added sugar, a little bit more butter and used dates with walnuts instead. The tops stayed crispy after 1-2 days which was great, and we just put them in the microwave for about 2 mins to warm them up and they were as good as coming out fresh from the oven. Hope you like them as much as we do.
Date and Walnut Scones
Ingredients:
- 2 cups plain flour, sifted
- 1 tablespoon baking powder
- 100 grams cold butter, cubed
- 1/4 cup dates, chopped
- 1/2 cup chopped walnuts
- 1/3 cup sugar
- 180mls or 3/4 cup thickened cream
- Pinch of salt
- Milk to glaze prior to baking
Methods:
- Add flour, baking powder, salt and sugar to mixing bowl. Mix well.
- Add in cubed butter and mix together until small clumps form. You can use hand or food processor if you have one
- Then add in dates and walnuts.
- Add in thickened cream and use a fork to mix together until the dry ingredients are moistened
- Pour out all the ingredients onto floured surface and lightly mix until the dough comes together. Be careful not to overmix the dough or the scones will become really hard
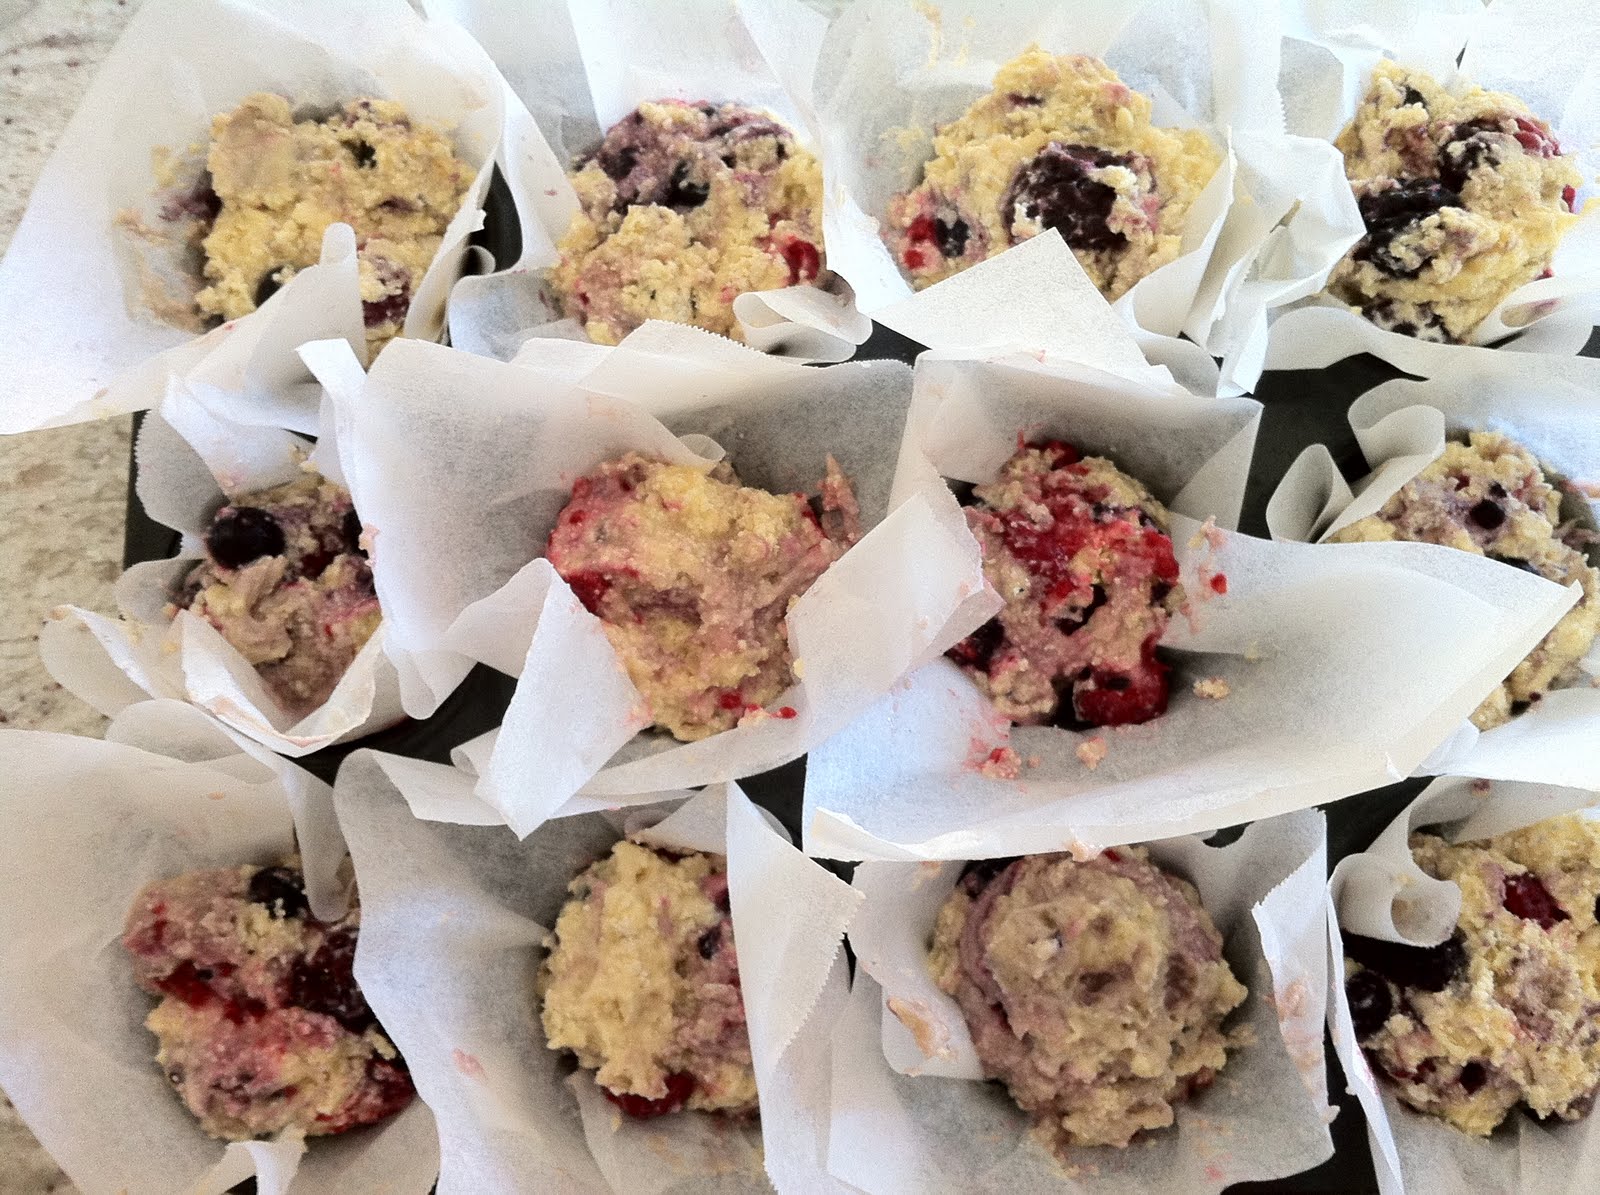
- Form a ball and cut into 6 triangles or you can use cookie cutter and cut into small rounds as well.
- Glaze the scones with milk before baking
- Bake in preheated 220 degrees celcius for 15-17 minutes until tops are browned and crunchy
- Serve with butter
Tips:
- I found that my scones spread out a little bit when I baked and became a bit flat. What I noticed from this cafe at my workplace was they flipped the scones sideways halfway through baking. I will try this next time. So halfway through baking maybe after 5-6 minutes, I will try to change the position of the scones so that the sides are facing up. This might help to keep the scones tall. I have not tried this before but saw the owner of this cafe doing this and has maintained good height for their scones. =)


 8. Once the rice is cooled, mix in 1 egg and stir thoroughly. This is to bind the mixture together so it's easier to form.


